Graph guide

Apex Notes, step by step

Start a project, make your first note, understand the screen, and connect notes in the graph.

Step 1

Choose A Project

A project is a folder of Markdown notes. Create a new folder, or open a folder that already has notes in it.

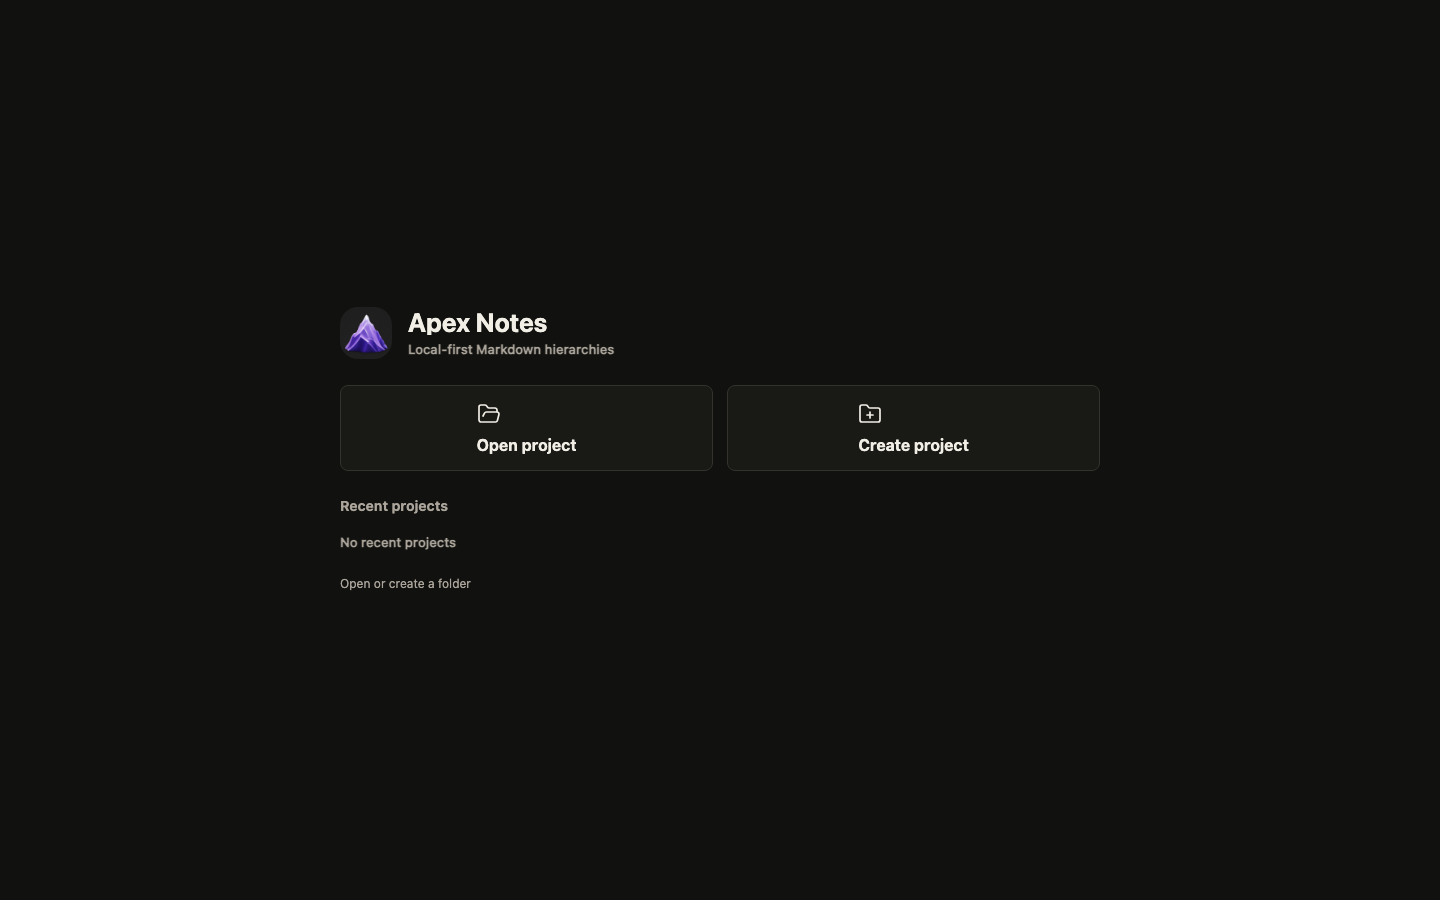
Apex Notes launch screen with Open project and Create project buttons.
Choose one path. The app brings both paths back to the same graph view.

Step 2, New Project

Create The First Note

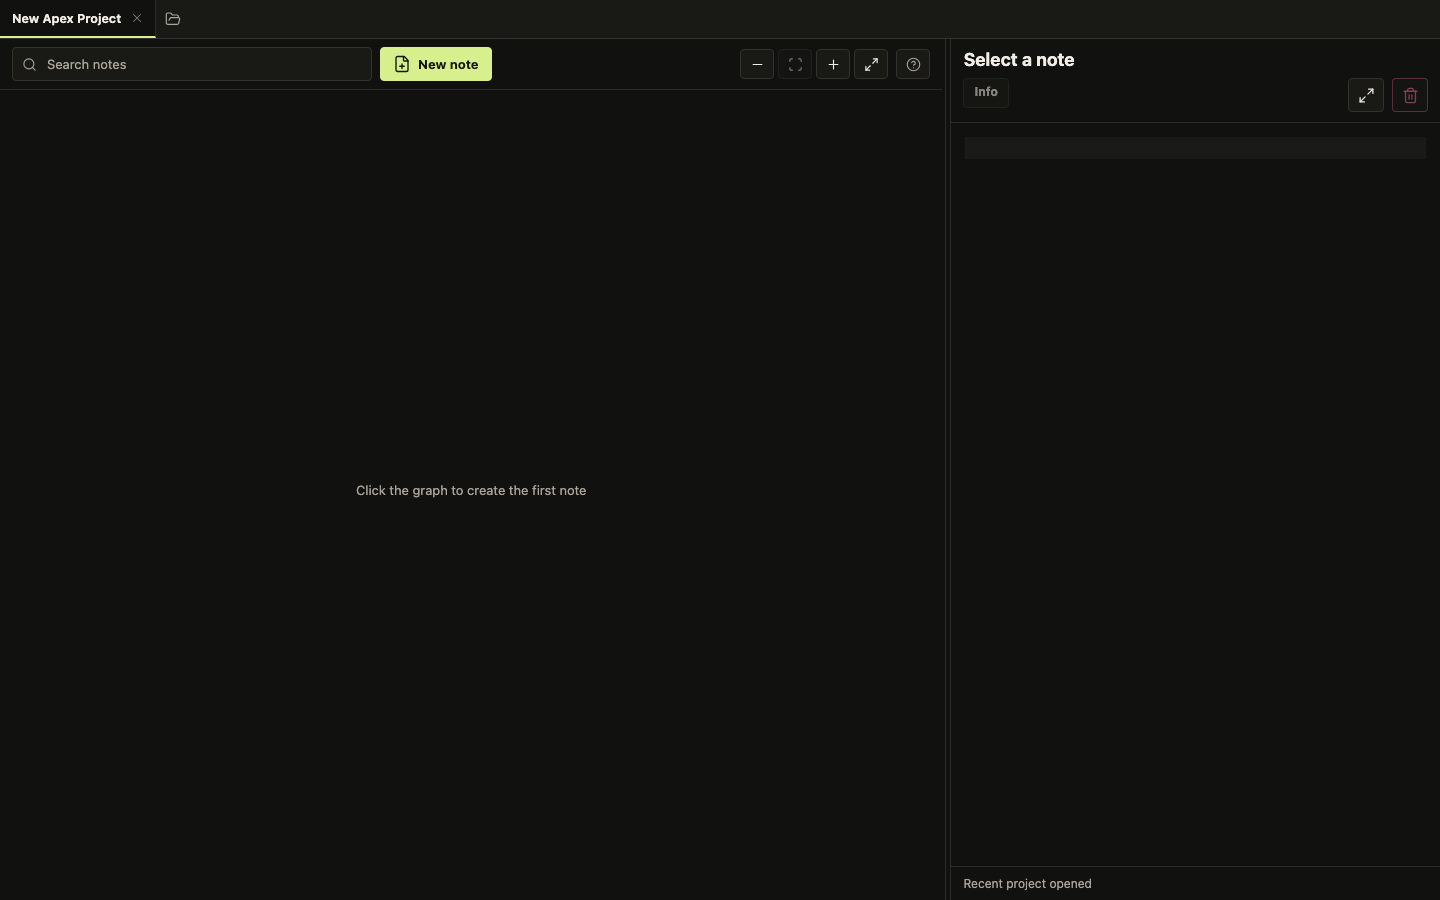
In a new project, click the empty graph area. Apex Notes creates the first note there. That note becomes the top of your first hierarchy.

An empty Apex Notes project showing the graph area prompt to create the first note. This starts the first note The editor fills in after a note exists
After the first note exists, you can add more notes around it.

Step 2, Existing Project

Prepare Existing Notes

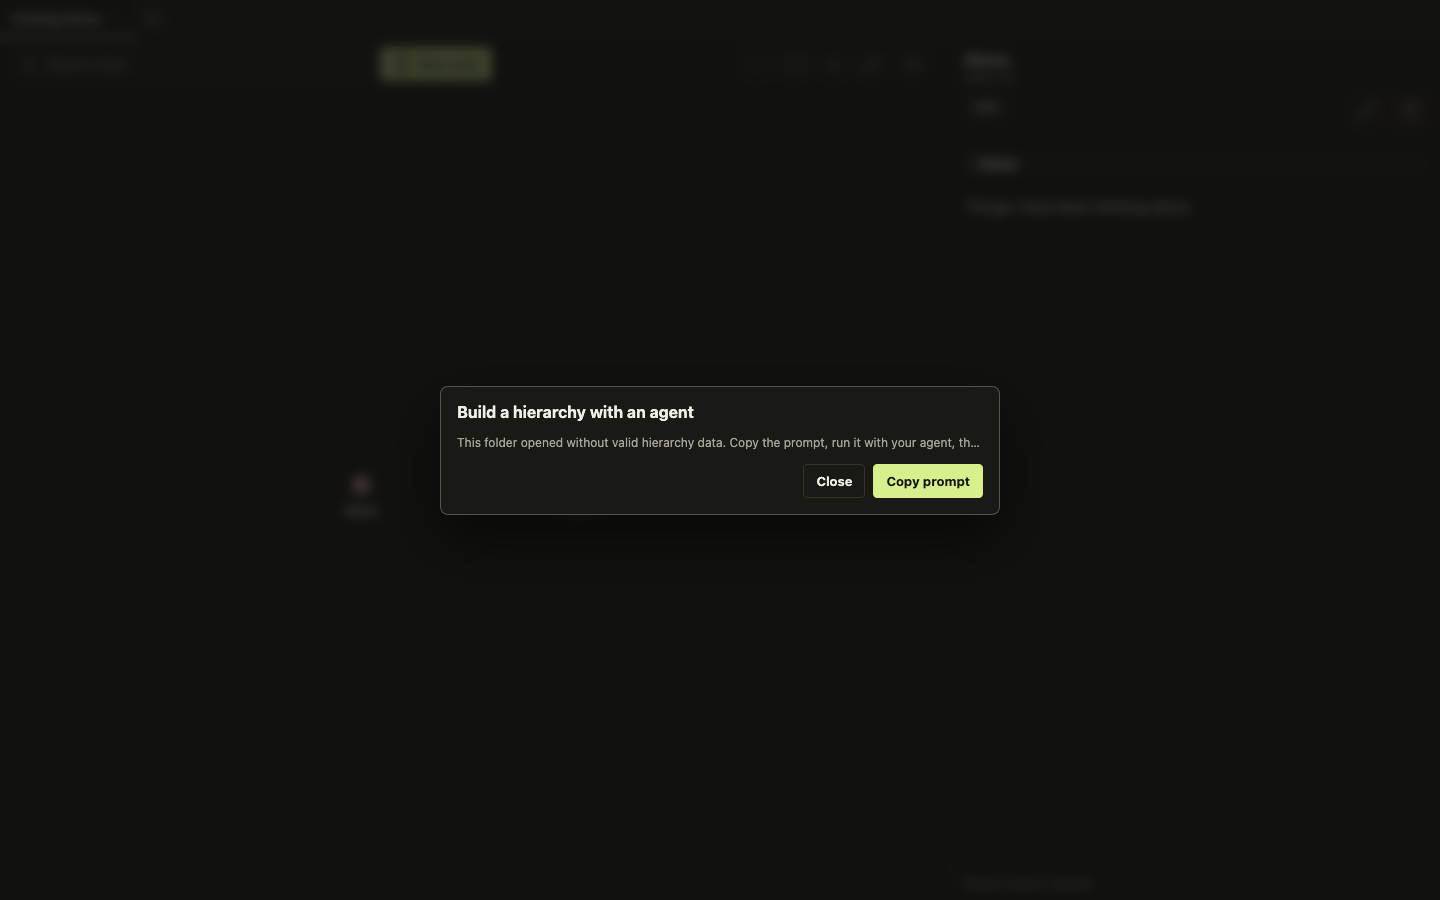
If the folder has notes but no Apex hierarchy yet, copy the prompt and give it to an AI agent that can edit the folder. The agent adds the title, level, parent, and manifest data Apex Notes needs.

Apex Notes dialog asking the user to build a hierarchy with an agent. Copy, then paste into your agent
If the folder already follows the Apex format, it opens straight into the graph.

The Main Screen

Learn The Main Screen

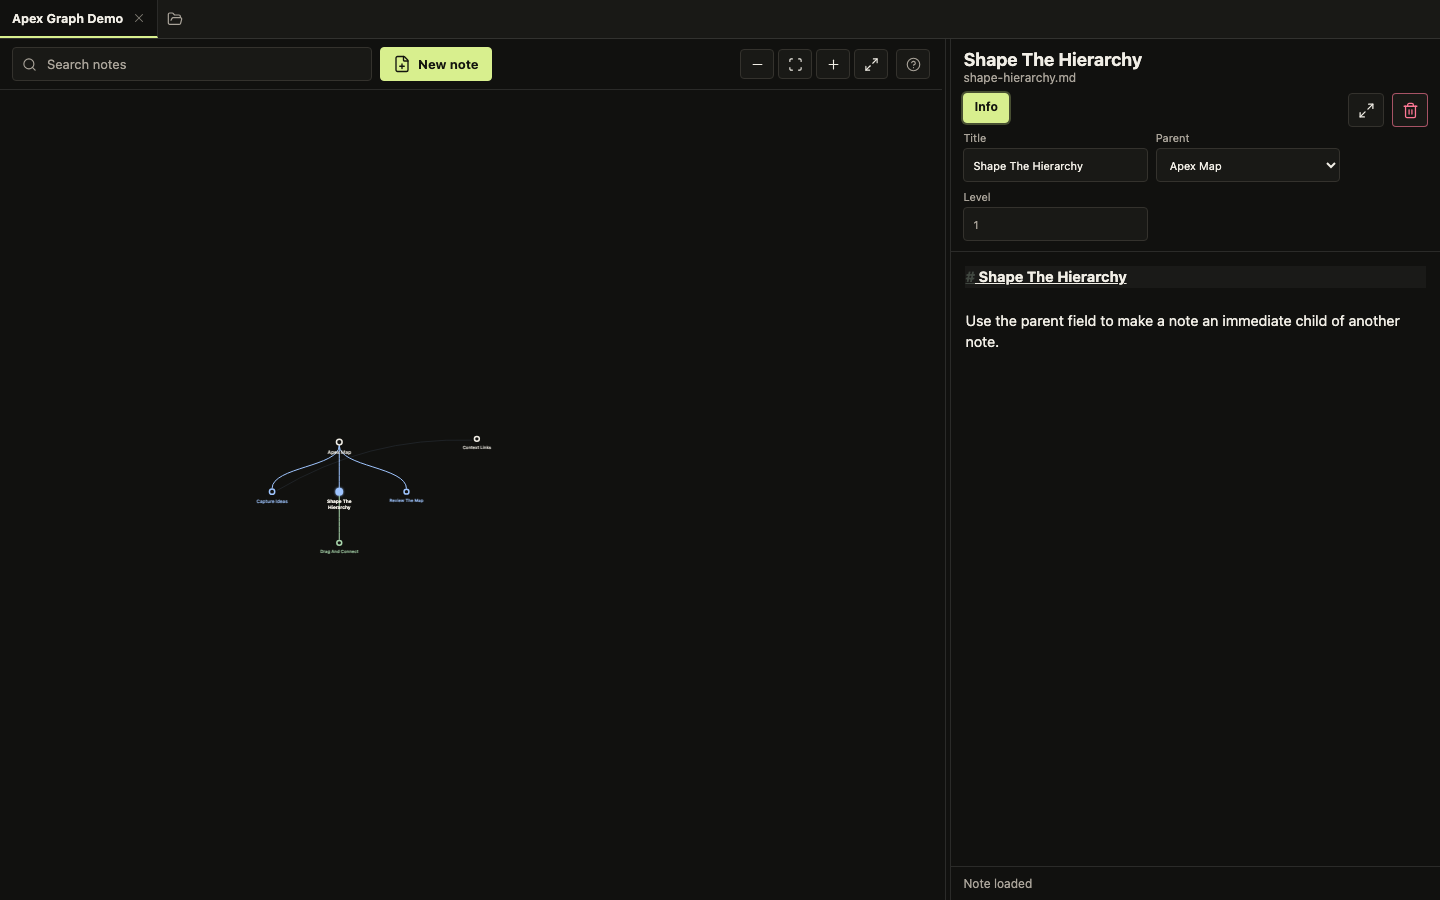
The graph is on the left. The selected note is on the right. The Info panel is where you can see or change the title, parent, and level.

Apex Notes main UI showing the graph, search, new note button, selected note editor, and Info panel. Click dots to open notes Info controls the hierarchy
Click a node in the graph to open it in the editor.

Graph Basics

Use The Graph

  1. Click a note to open it in the editor.
  2. Double-click empty graph space to create a new loose note.
  3. Use New note when you want to choose the parent before creating it.
  4. Drag nodes to make the map easier to read. This only changes layout.
  5. Drag empty graph space to pan. Scroll to zoom.
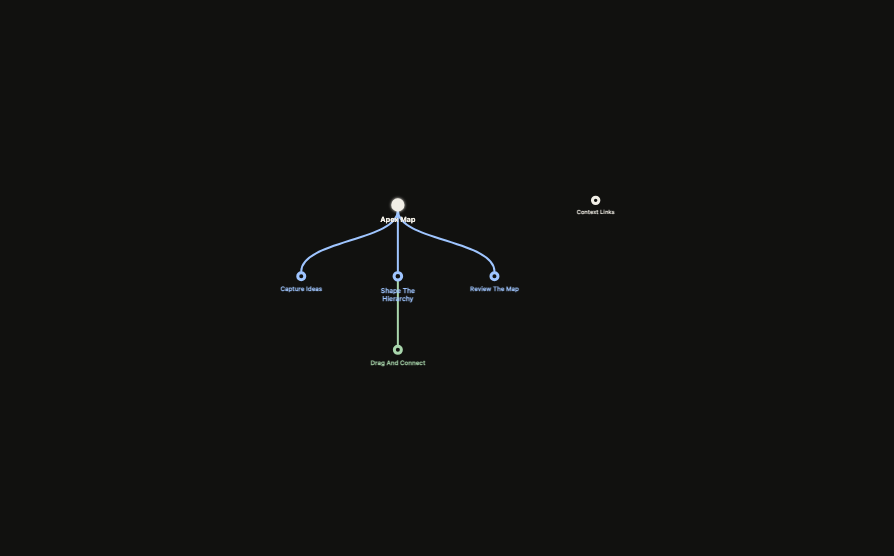
Apex Notes graph with notes arranged as connected dots, plus one loose note. Open: click a note Create: double-click empty space Arrange: drag notes Move view: drag or scroll
The graph is the canvas: click notes, create in empty space, drag nodes, and move around the map.

Connections

Connect Notes

  1. Double-click a note to start a connection.
  2. Drag the rope to the note you want to connect.
  3. First connection makes a parent when the other note is loose.
  4. More connections stay contextual. A note only has one parent.
Apex Notes graph with a dashed drag path from a parent note to a loose note and callouts explaining connection behavior. 1 Double-click source 2 Drag to target First link becomes parent Later links stay context
The dashed line shows the drag. The solid tree lines are saved parent links.

Create With A Parent

Choose A Parent Up Front

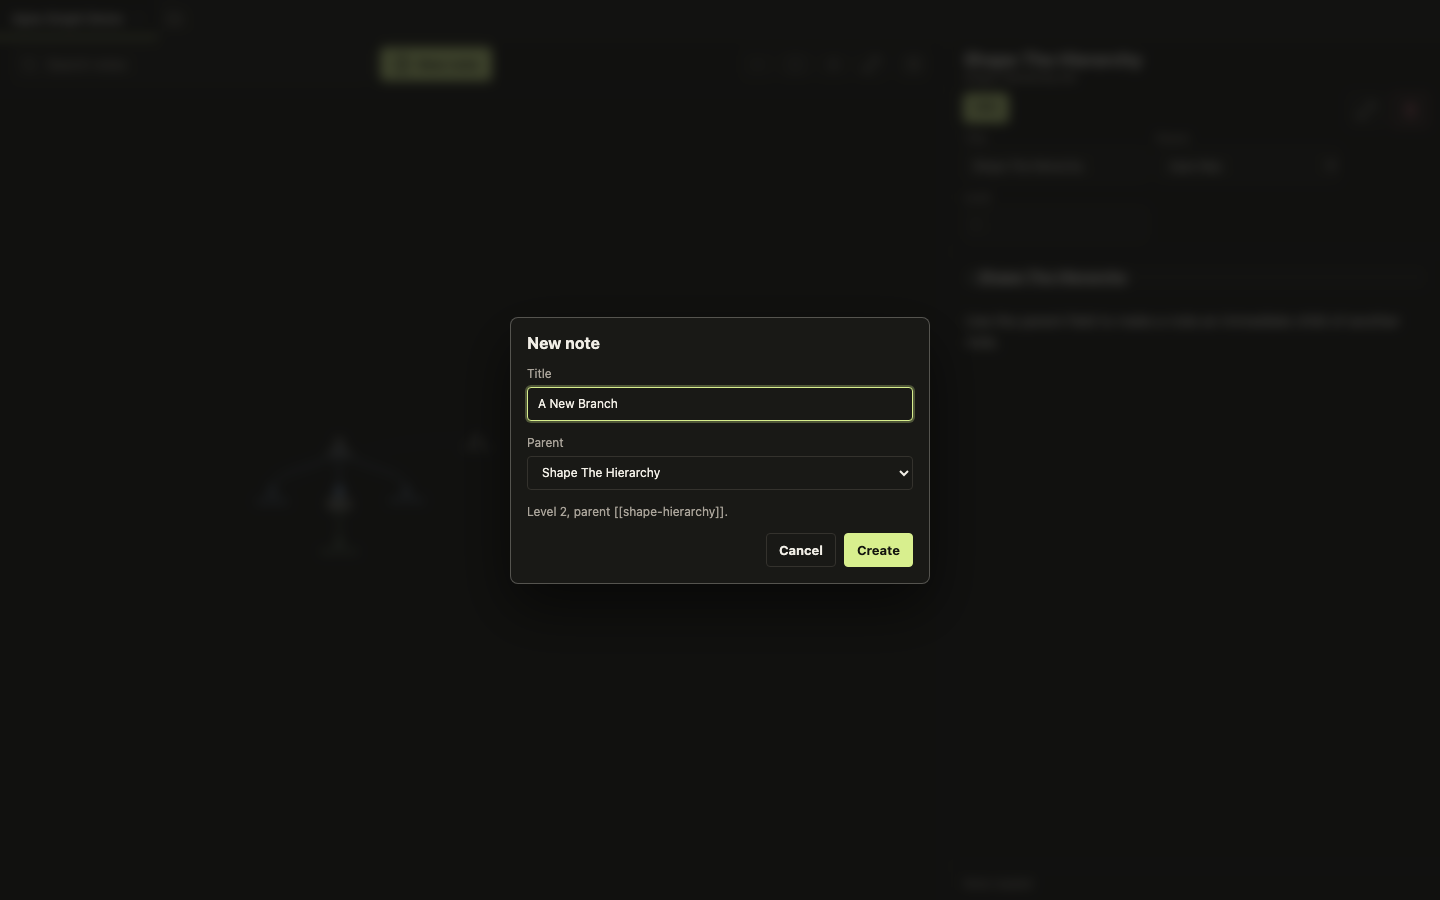
The New note dialog lets you pick a parent before the note exists. Apex Notes shows the level it will use before you create it.

The Apex Notes new note dialog showing title, parent selector, level hint, cancel, and create buttons. Choose the parent
Choose no parent when you want a loose note or a new root.

Instruct Your AI Agent

Use This Prompt

Give this to an agent that can edit your notes folder. It keeps the graph clean and makes sure Apex Notes can read the hierarchy.

Open this folder as an Apex Notes project.

For every Markdown note:
- Keep only this frontmatter shape: title, level, parent.
- Use parent as the only hierarchy link.
- Use parent: null for loose notes and root notes.
- Use parent: "[[parent-note]]" for one immediate parent.
- Set level to parent.level + 1.
- Use body [[links]] only for context, not hierarchy.
- When adding or deleting Markdown files, update notes/manifest.json.
- Preserve existing filenames unless I ask you to rename them.